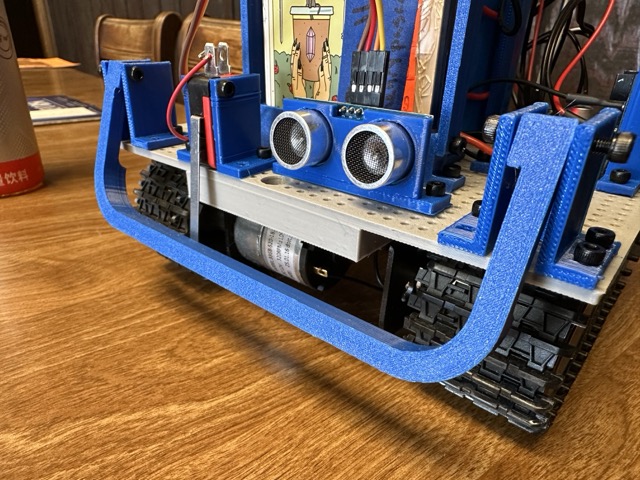
So after my initial TankBot ESP32 build, I wanted to expand on the capabilities. Now the platform is fully adaptable to size and scale, which sensors are available, and can even use a variety of “brains” for the device. All of this built off the same ESP32 core platform.
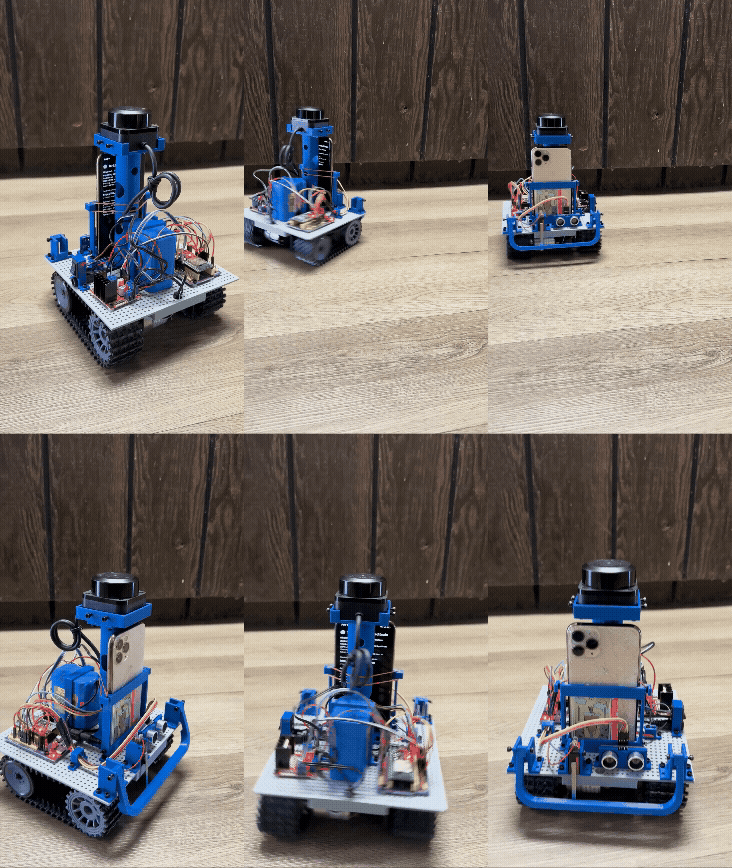
The current build has an ESP32 with dev board, lidar, ultrasonic sensor, 12v battery, motor driver, and a bumper switch. It can then have a cell phone added as a brain for autonomous use and mapping. The setup can auto detect what sensors and abilities are available from the phone and adds them to the suite of sensors already on the bot.
Controls
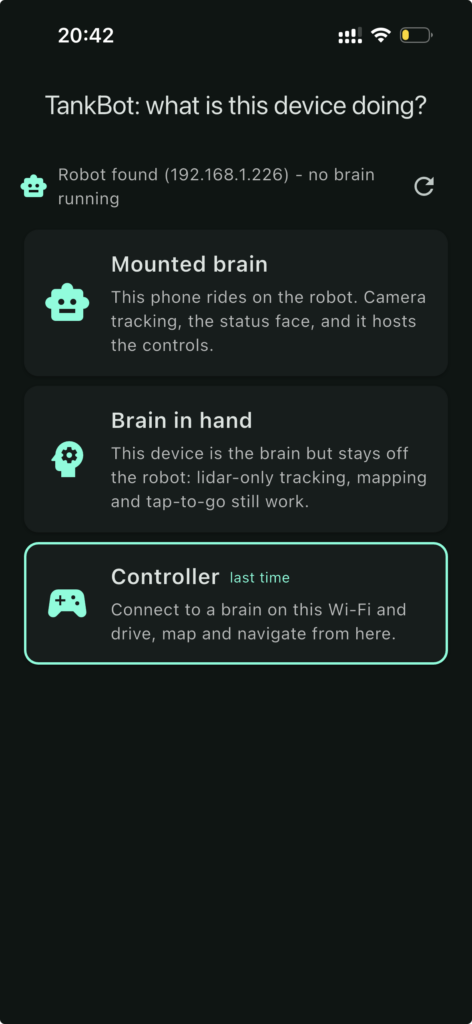
There is a “TankBot” app that allows the user to drive the bot and give it a brain if desired. It has three modes:
- Controller: Just drive it plainly, like a remote control car, much like our original bot.
- Brain in Hand: Keep the phone in hand as a controller, but still unlock mapping and some autonomous abilities using your phone.
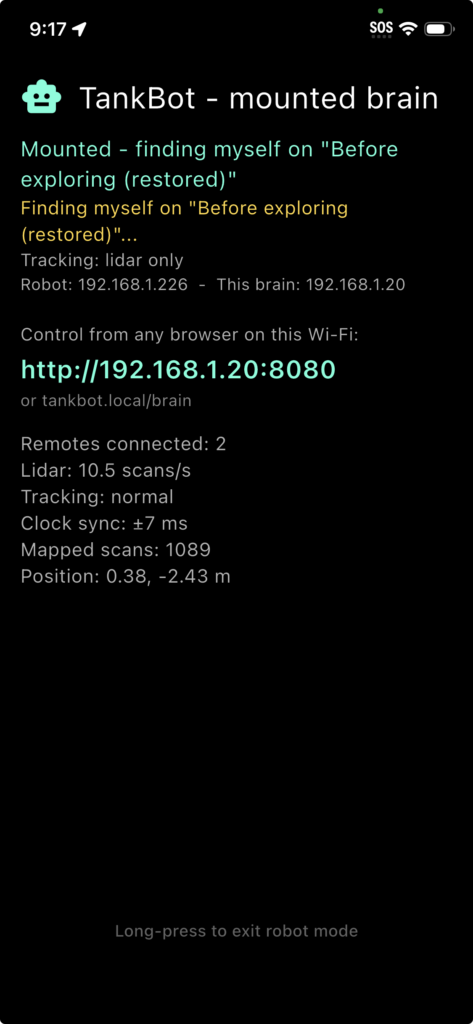
- Mounted Brain: The most capable version, mounting the phone onto the bot as a brain and sensor suite, then use a separate phone or computer as the controller.
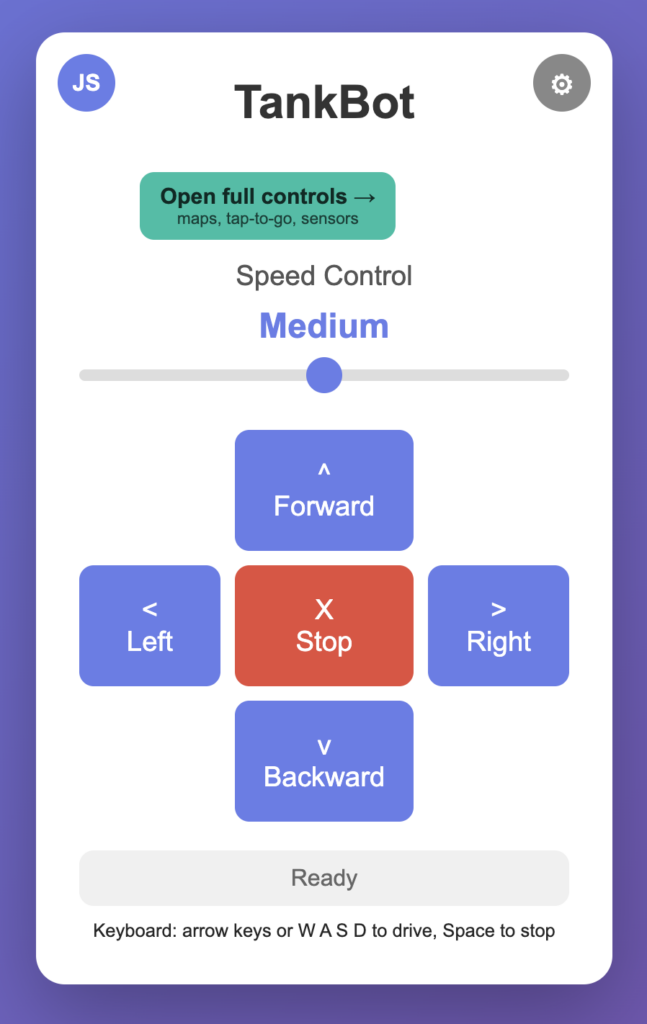
The bot can also always be controlled with just a web browser by going to http://tankbot.local. It has all the controls options just not the brain. It also gives the ability to modify maps, setup the bot, and adjust settings.
Actual driving can be done via an onscreen joystick or buttons, as well as the arrow keys if a keyboard is available.
Bot Setup
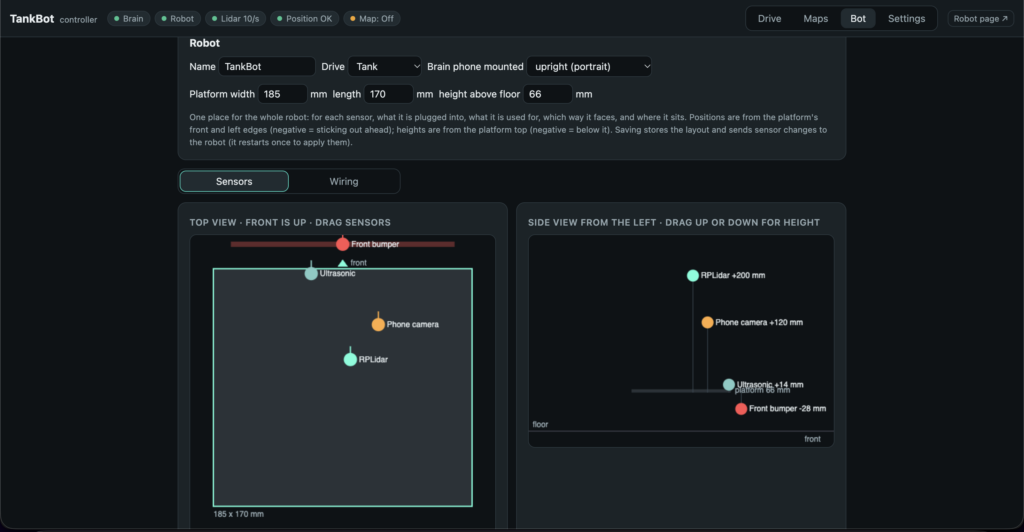
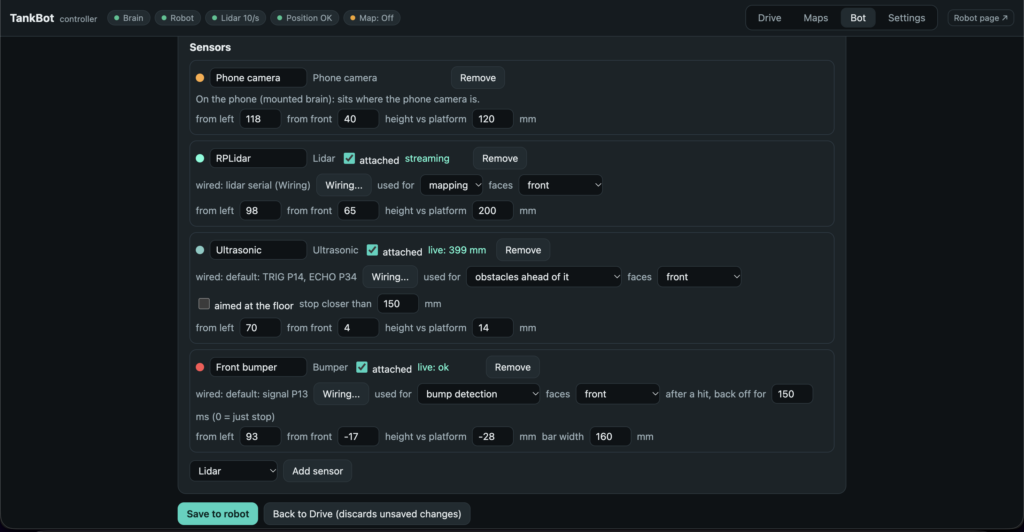
The bot setup is pretty straightforward, you put in your bot dimensions, add any sensors, and tell it where the sensor is located on the bot. The ESP32 will keep all of these settings on the device, so if you change brains or controllers in the future, it will retain all these settings.
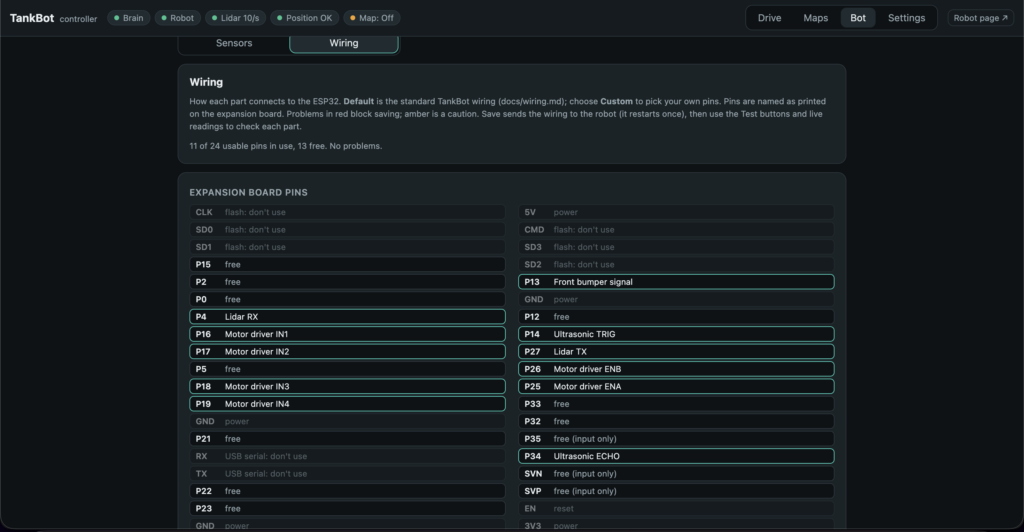
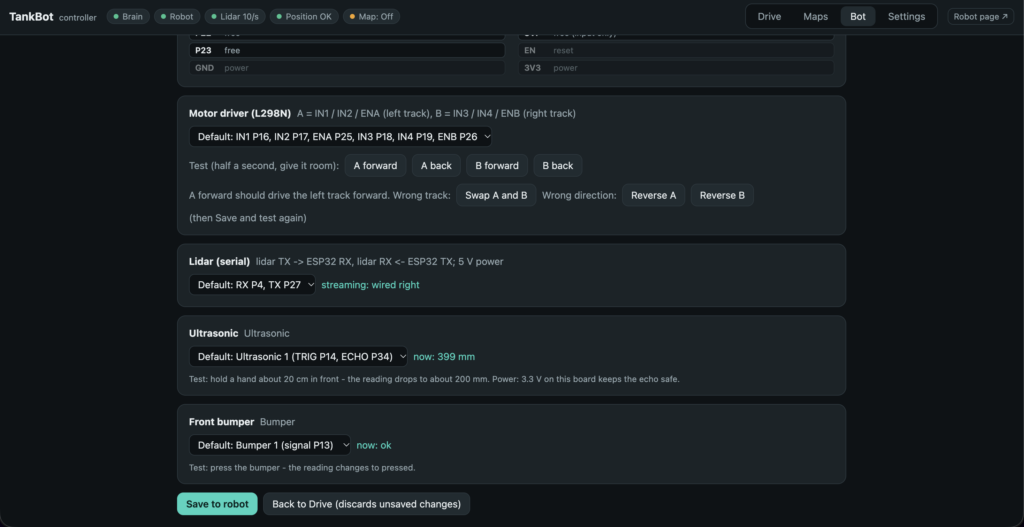
Once these are added you will then click the “Wiring” tab and tell it where everything is wired. We have a standard wiring plan for most sensors, but you can adjust to custom wiring if you would prefer. It will not let you save conflicts, so if you mistakenly assign two things to the same pin it will tell you.
Mapping
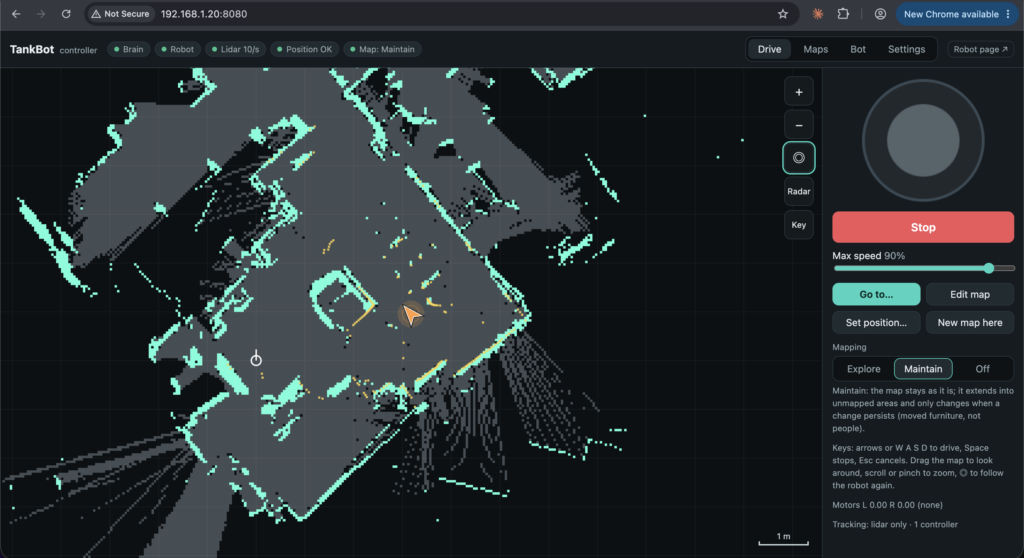
So mapping is pretty automatic for the most part, but does have three modes
- Explore: This mode is for initial mapping, it can be done manually or autonomously. In this mode it does a lot of writing, it is best not to just leave either in this mode for regular use. The autonomous mapping searches for unexplored areas which a gap over 40cm. This means it can readily identify doorways, but small gaps or missing hits along a wall don’t send the bot endlessly searching.
- Maintenance: In this mode, the sensors need to encounter a change multiple times before it updates the map. This is the preferred option for most operation.
- Off: The mapping is off. If you really have the area mapped well and it does not experience much change, then this is not a bad option.
The map also marks drops and bumps if those sensors are equipped. They only persist if encountered repeatedly, so running into a dog toy doesn’t create a permanent map change, but running into a dog bed in the same spot repeatedly will.
More Coming
There will be some follow up posts with more details. Actual walkthroughs for the hardware and software setups, and more customization examples. Come back for more.